 TulipSoft
 TablePlus
What is TablePlus?
TablePlust is a DB client with intuitive GUI tools. As of 2022, there is only an English version, but it is recommended because of its simple operation system. You can create, access, query, and edit multiple relational databases including MySQL, PostgreSQL, SQLite, Microsoft SQL Server, Amazon Redshift, MariaDB, CockroachDB, Vertica, and Redis.
download
You can download it from the official TablePlus page. Please open the following link.
When you open the page, you will see a screen like this: For the Windows version, select “Download for Windows”.
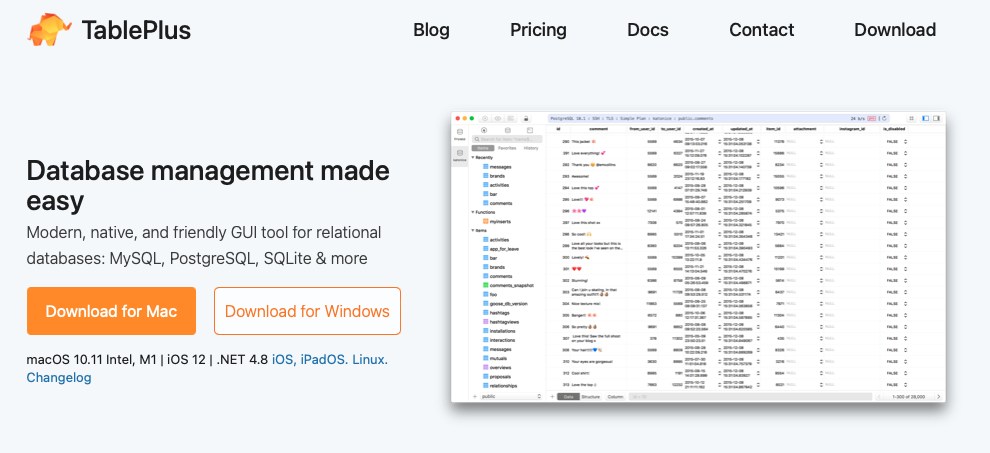
When you open the page, you will see a screen like this: If you are using the Windows version, select “Windows 64/32 bit” and the installer (exe file) will begin downloading. 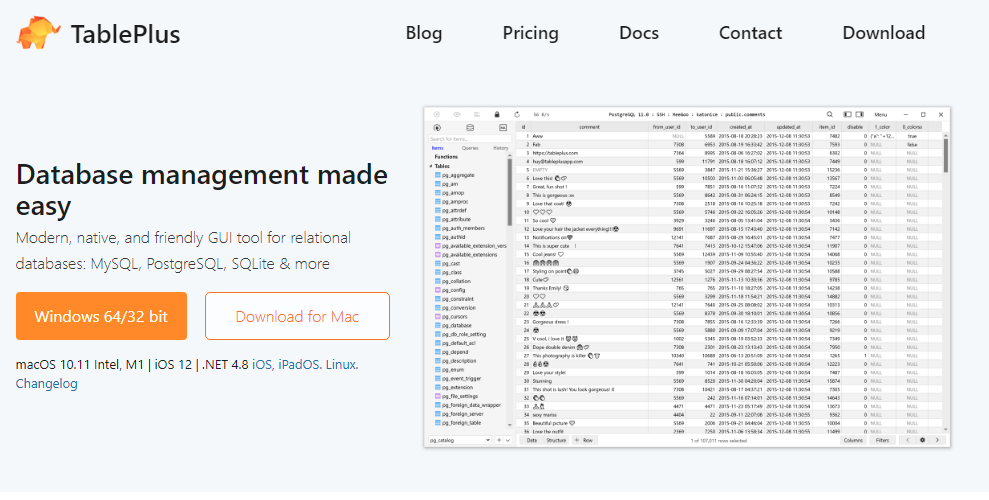
installation
Launch the downloaded installer and follow the on-screen instructions to install.
DB connection settings
This section describes the DB connection settings to MySQL.
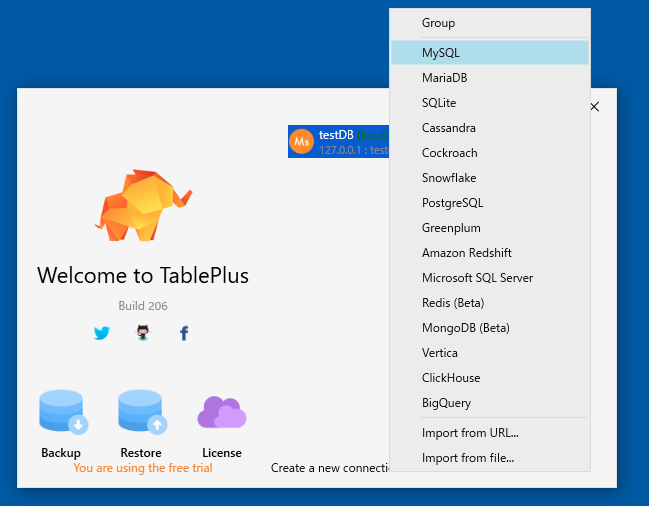
To create a new connection, press “Create a new connection…” on the screen shown below that appears after starting TablePlus.
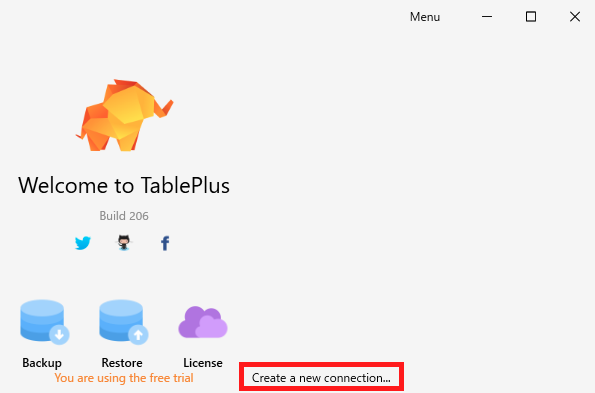
A list will appear; select “MySQL”.
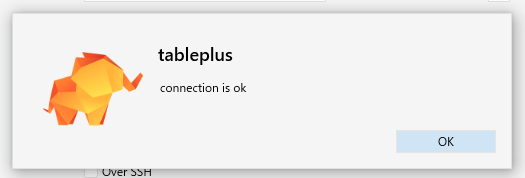
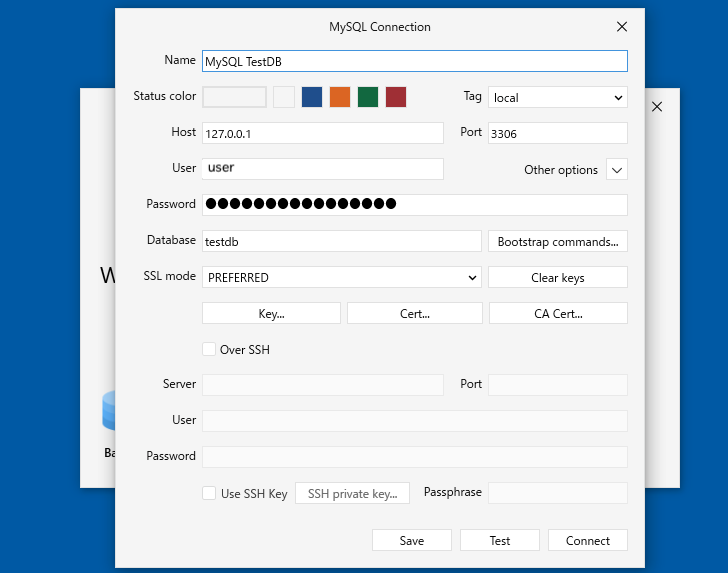
Create a new connection. Once the settings are complete, first press the “Test” button. If “connection is ok” is displayed, the connection is successful. Save the connection settings by clicking the “Save” button.
< /tr>| Item | Description |
|---|---|
| Name | Connection name (optional) |
| Host | DB server IP address |
| Port | 3306 |
| User | DB connection user |
| Password | DB connection password |
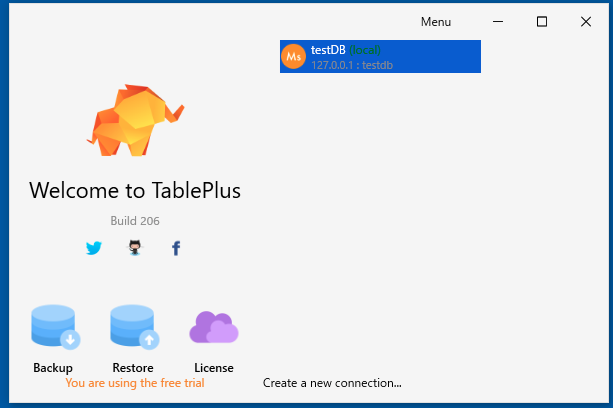
When you save with the “Save” button, a connection icon will be displayed on the startup screen. Click on the connection icon to open the DB.
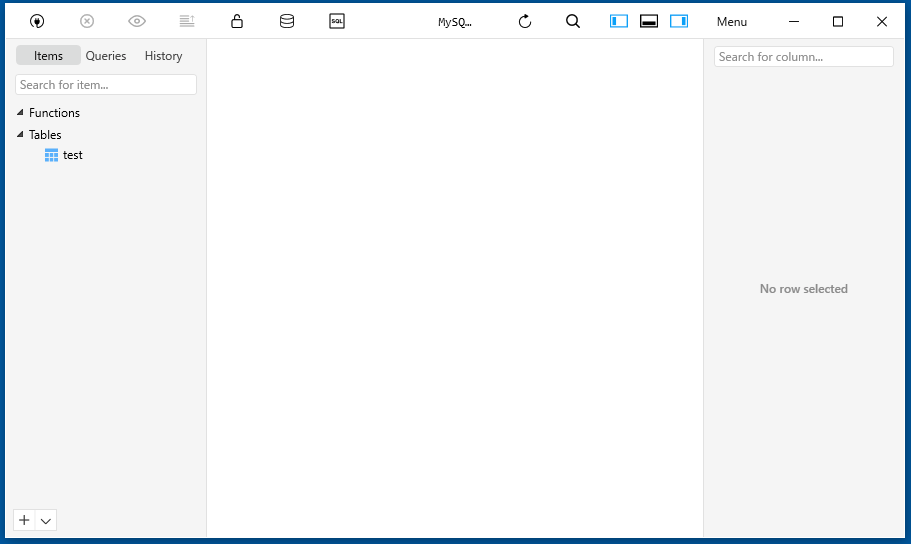
DB is now open. Connection successful.
Basic operations ----### Toolbar description
I will explain the toolbar at the top of the TablePlus screen.
Explanation of each part 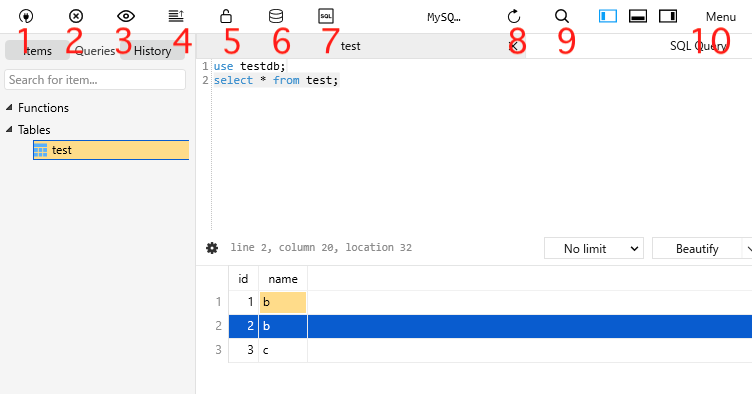
| Number | Description |
|---|---|
| 1 | Select the DB connection destination |
| 2 | Change Cancel |
| 3 | Show execution preview before executing SQL |
| 4 | Commit changes |
| 5 | |
| 6 | Select DB |
| 7 | Open SQL editor |
| 8 | Table Refresh the currently displayed workspace |
| 9 | Show command input palette |
| 10 | Show menu |
Create a new table
Right-click on “Tables” on the left side of the screen to display the shortcut menu. Selecting the item New > Table will take you to the new table creation screen.
Set the table name in Name of this screen castle.
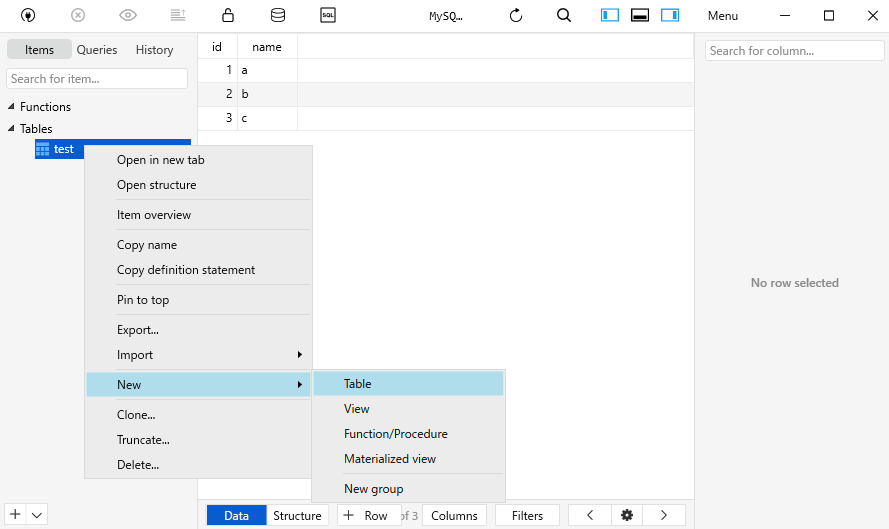
Adding columns to the table
When you create a table for the first time, the first column is added as an initial value as shown on the screen, so please set the column name etc. 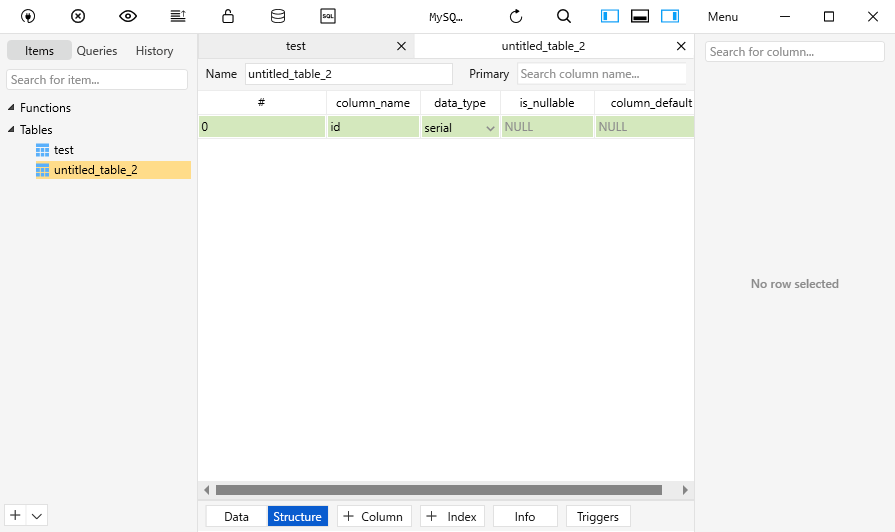
For the second and subsequent columns, press the “+Column” button at the bottom of the screen to add a new column, so set the column name etc. in the same way.
Changing columns to a table
If you want to change the column name or column attributes of an existing table, select the table name from the left side of the screen, and then select the “Structure” button at the bottom of the screen.
Screen
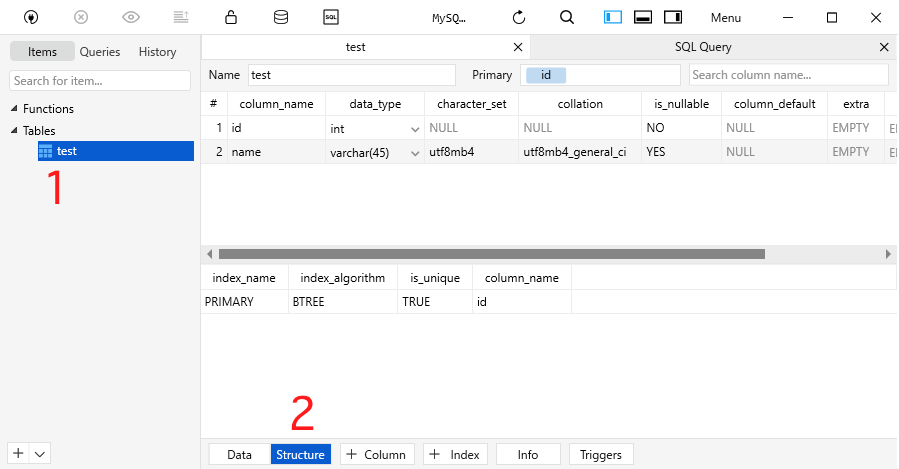
Operation
| Number | Description |
|---|---|
| 1 | Select the target table |
| 2 | Press the "Structure" button |
CSV import
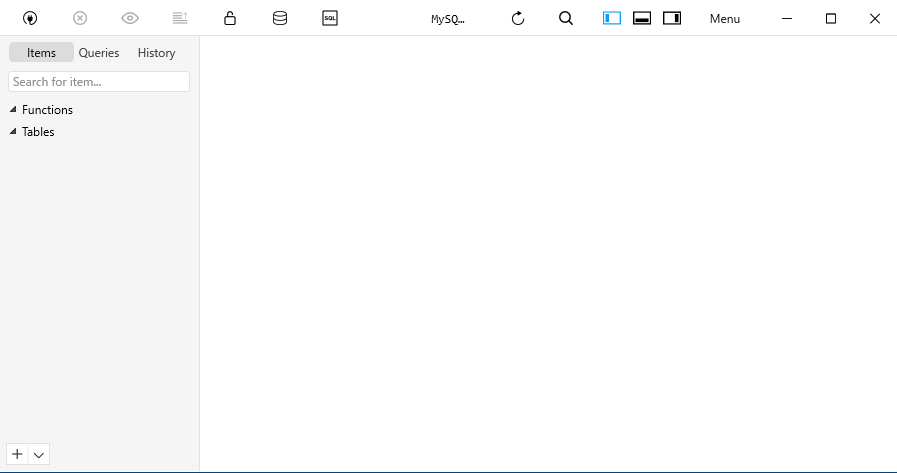
I will explain the steps to import a table from a CSV file into a DB using TablePlus.1. Open the DB in TablePlus.
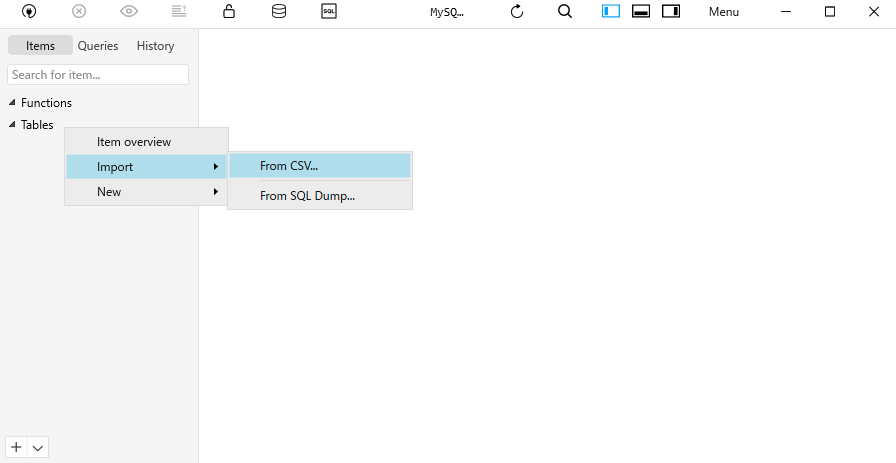
- Right-click on “Tables” on the left side of the screen. Select Import > From CSV..
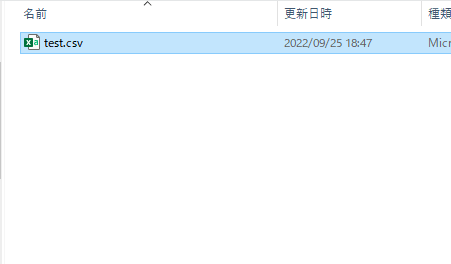
- Select and open the CSV file
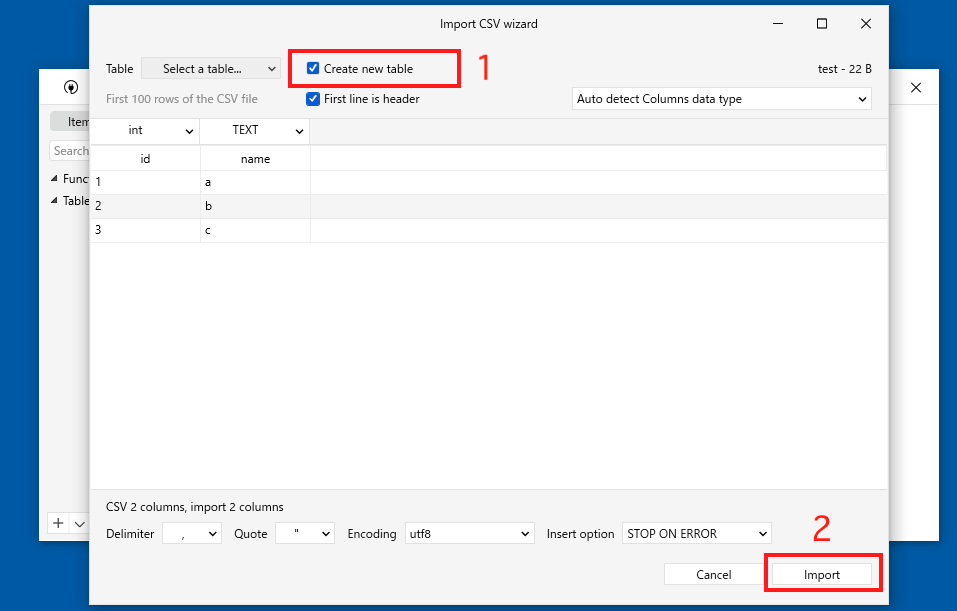
- The import dialog will appear, so select “Create new table”. If you select this, a table will be created with the file name at the same time as the import. If you uncheck it, you can import it into an existing table. Finally, press the “Import” button to start importing.
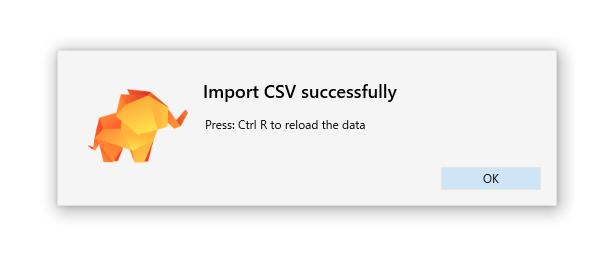
- If the import is successful, the following dialog will be displayed.
CSV export
I will explain the steps to export from a DB table to a CSV file using TablePlus.
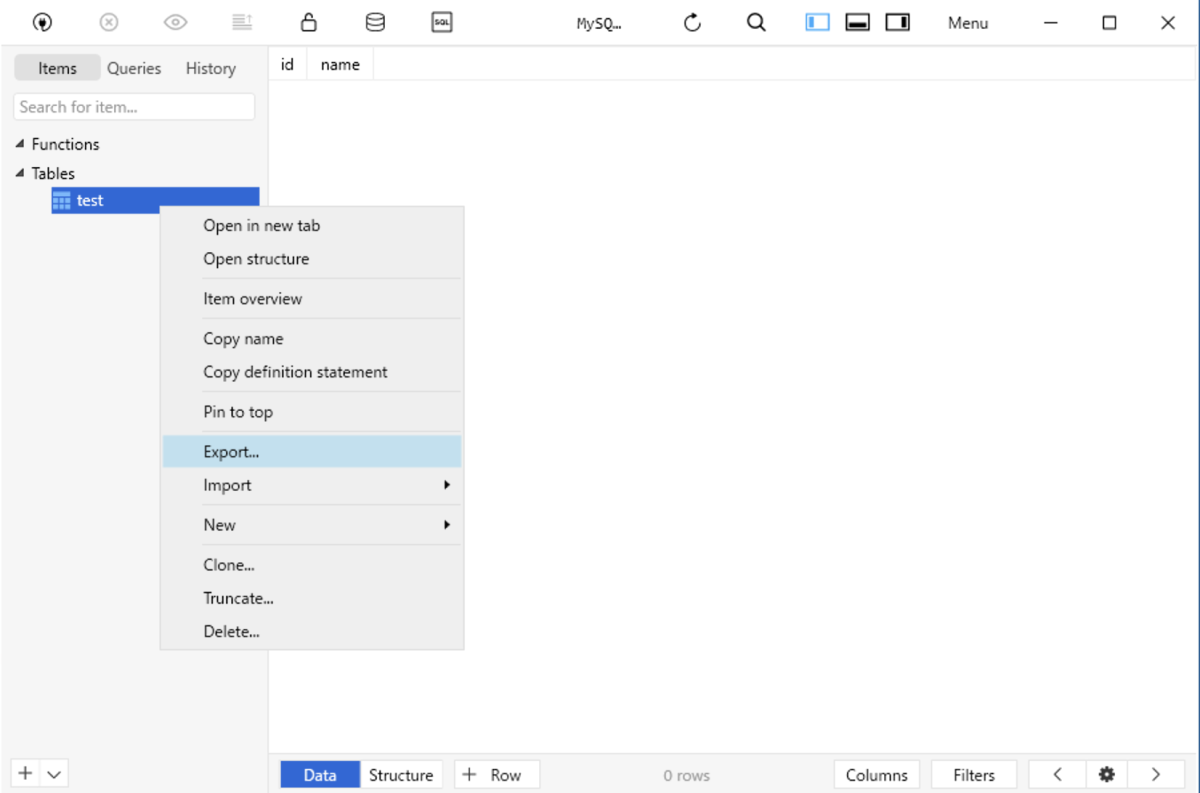
- Open the DB in TablePlus.
- Right-click on “Tables” on the left side of the screen. Select Export.
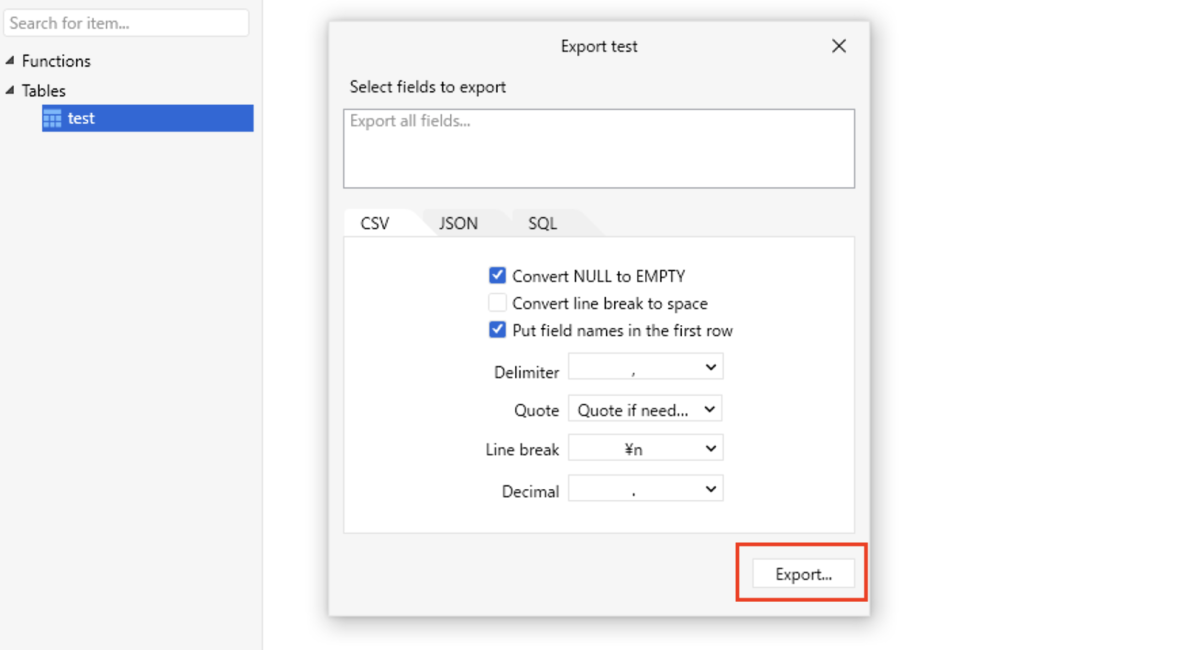
- A dialog will appear. Check the contents and press the “Export..” button.
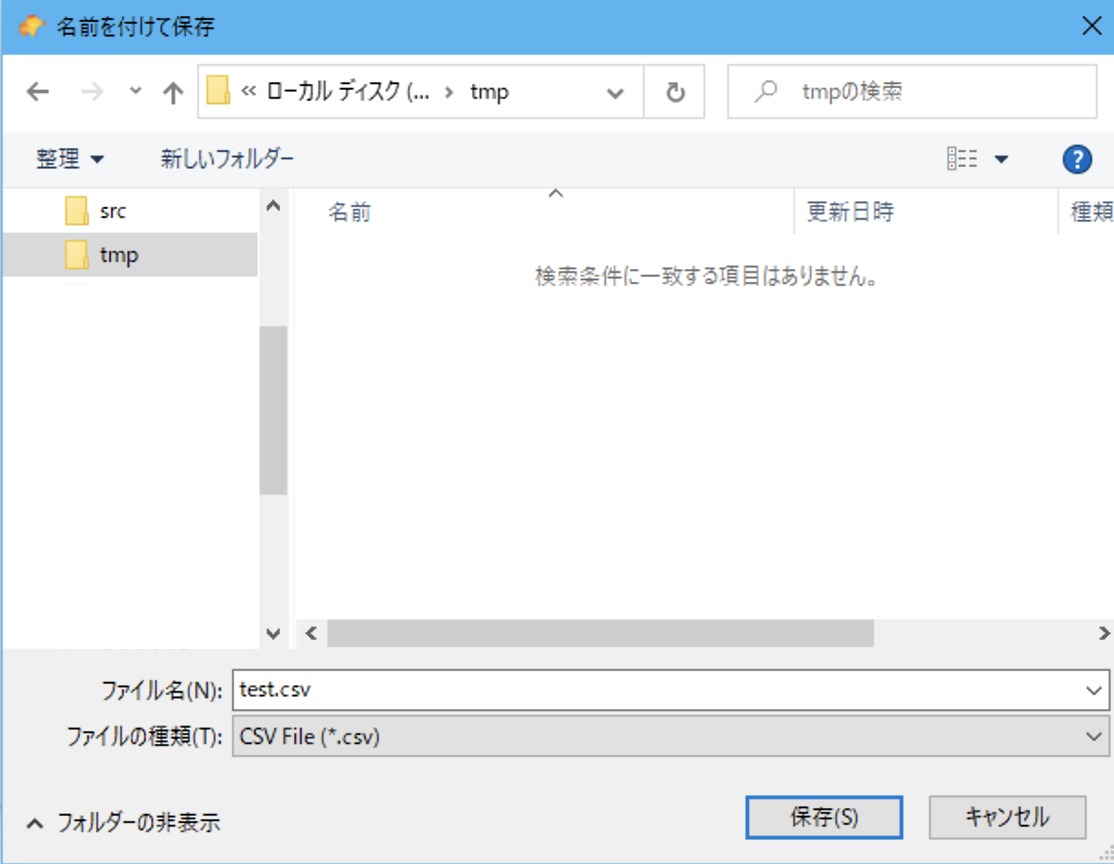
- Select the save destination for the CSV file.
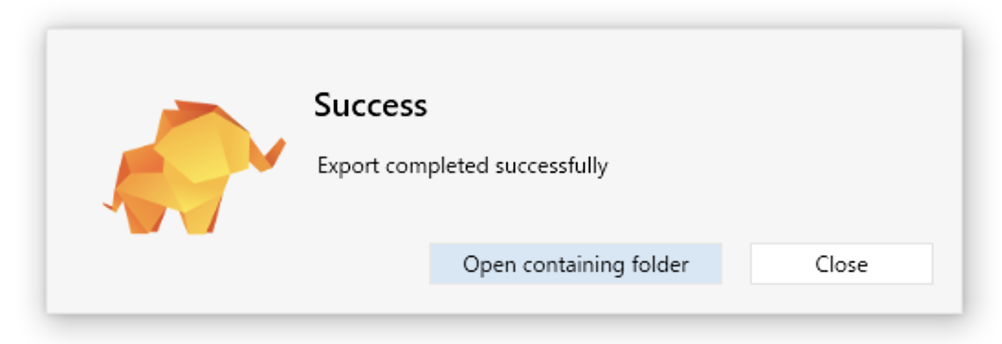
- If the export is successful, the following dialog will appear.
Error case collection
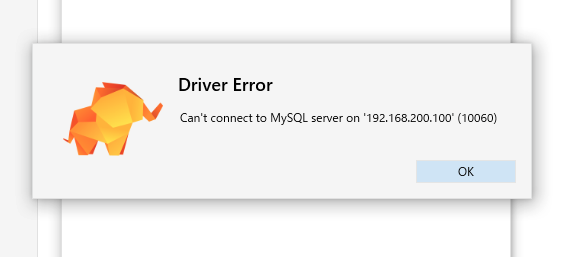
Can’t connect to MySQL .. is displayed
If a screen like this appears and you are unable to connect, the IP address of the Host in the connection settings may be incorrect.
Let’s change the IP address of “Host” on the connection editing screen. The Host IP address is the IP address of the computer where you installed the DB server.
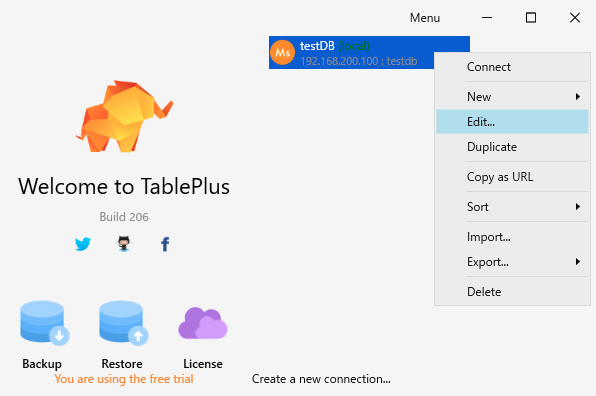
On the screen that appears when you start TablePlus, right-click on the connection you created. Then select “Edit”.
The connection editing screen will be displayed, so change the Host IP. Once you have made your changes, press “Test” at the bottom of the dialog.
If the message “connection is ok” is displayed as shown below, the connection is successful. Click the “OK” button on the message dialog to close the dialog. Finally, save the settings by clicking “Save” on the editing screen above, and connect to the DB by clicking “Connect”.