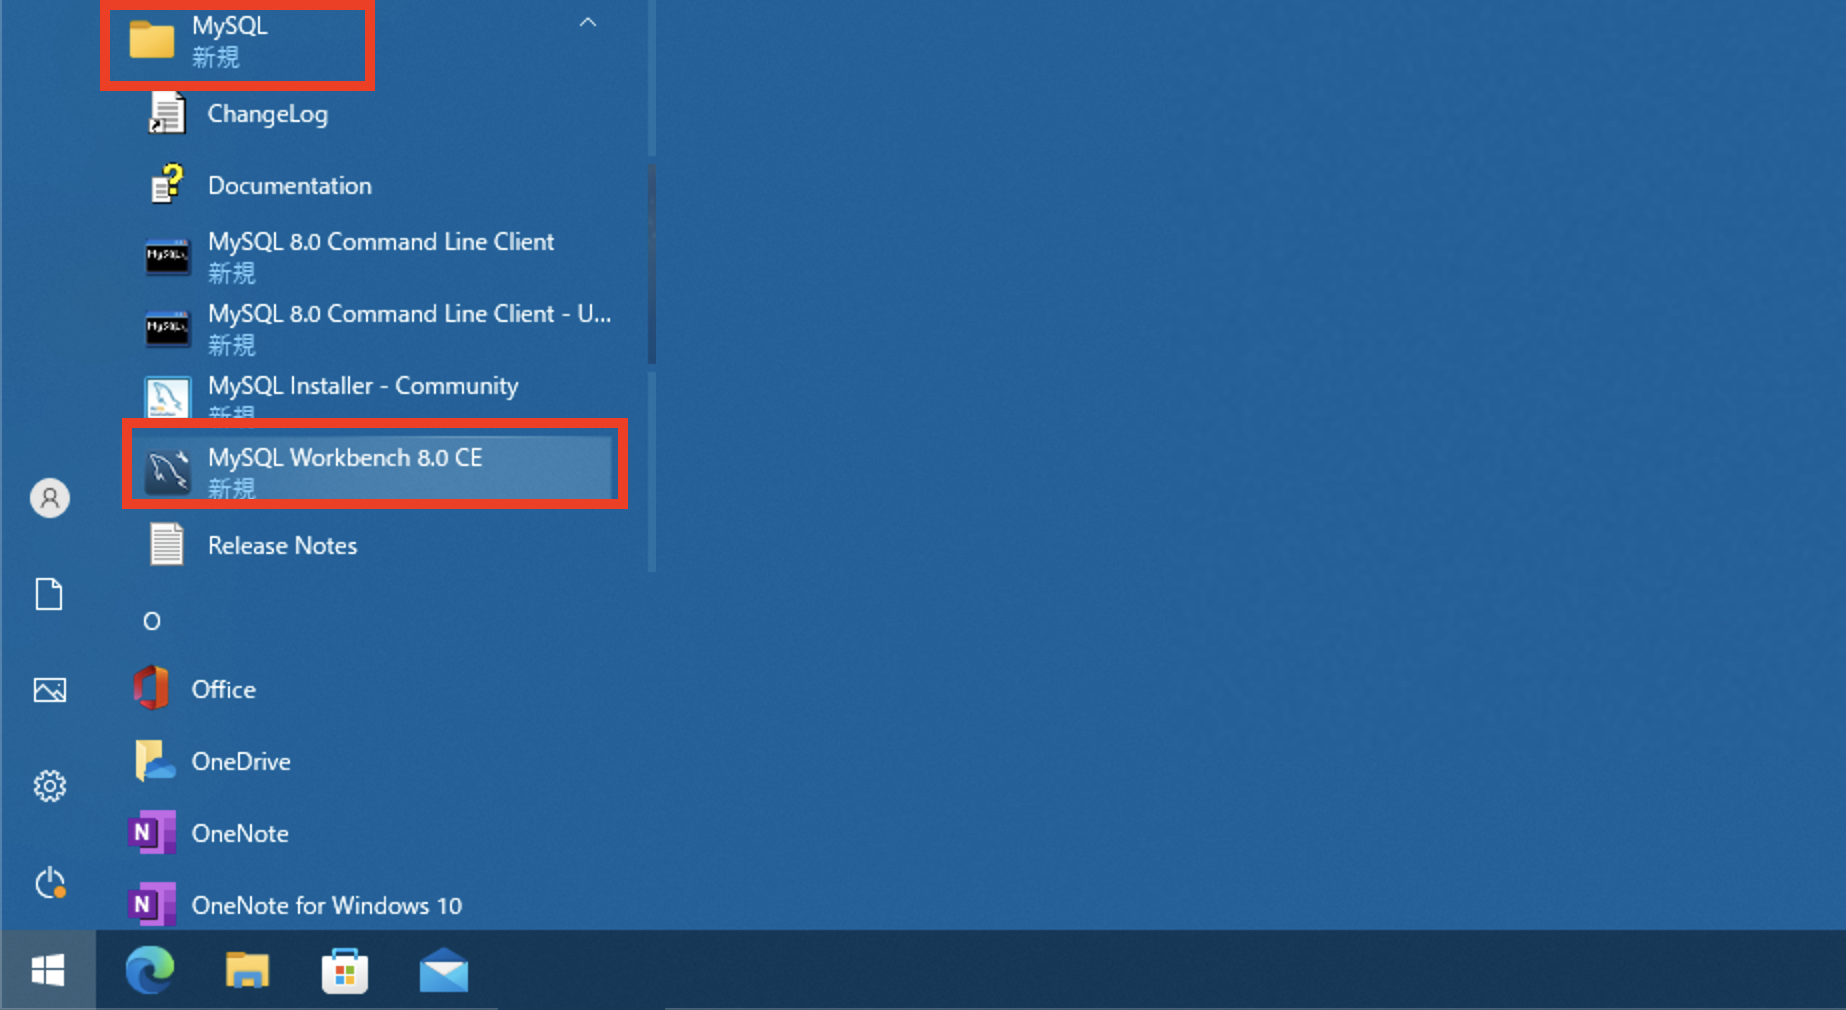
If you have already installed it, open the “MySQL” folder from the Windows Start menu with your mouse. There is a shortcut for “MySQL Workbench” in the folder, so click on it to start it.
#How to check and use Schema
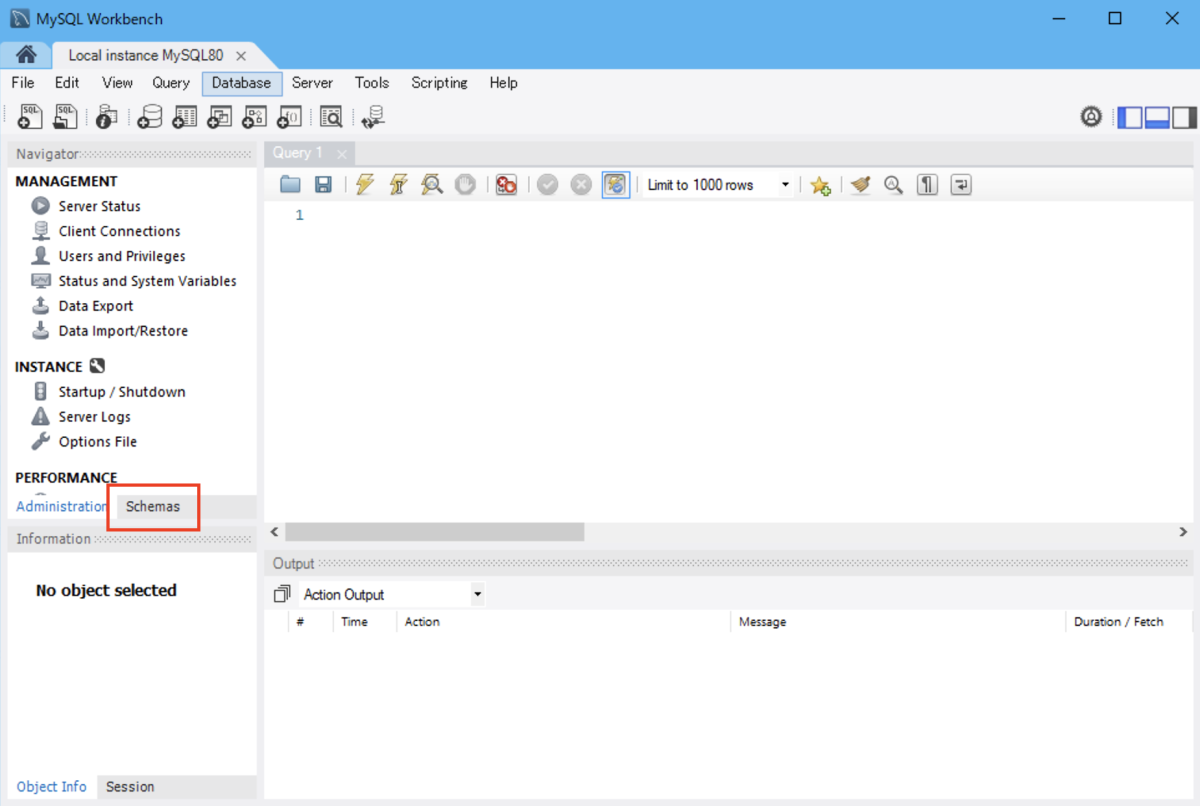
When you start MySQL Workbench, the DB may not be displayed. At startup, “Administrator” may be selected in the Navigator panel on the left side of the screen, so select the “Schemas” tab.
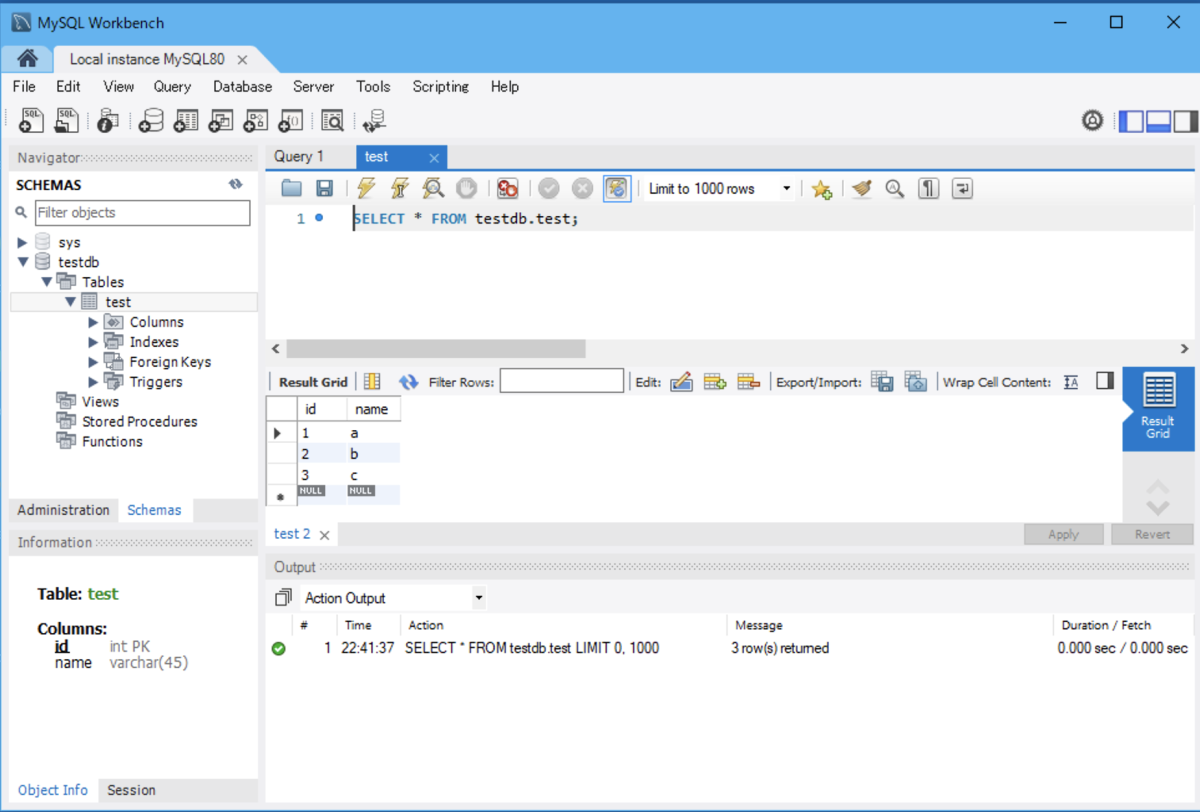
This allows you to display registered DBs, edit tables on DBs, etc.
Schema display update
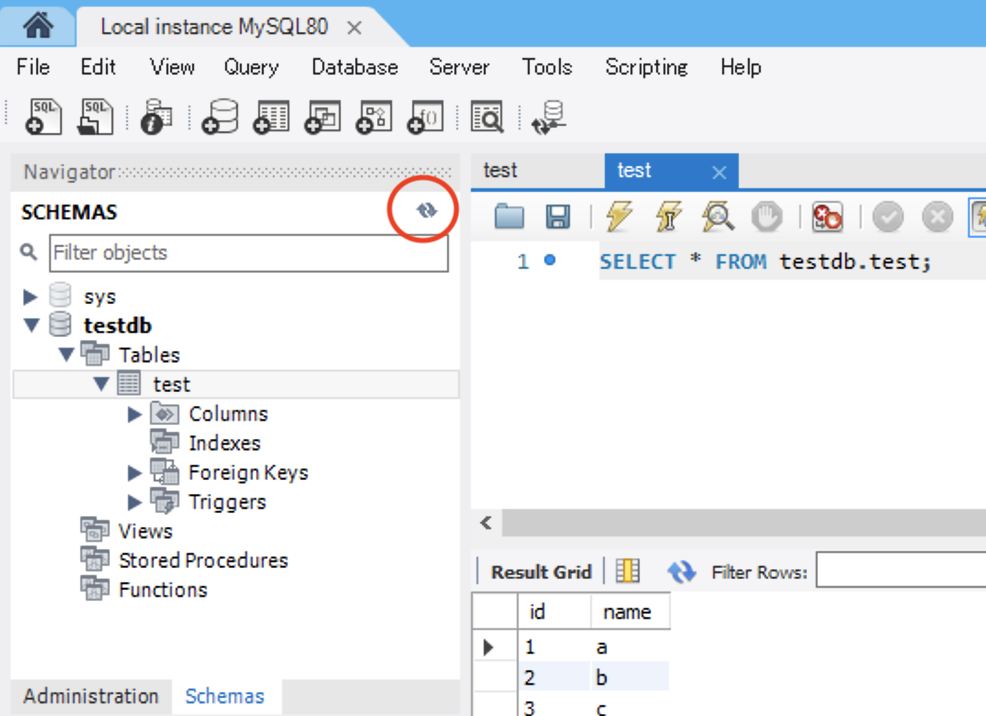
If you want to update what you see on your screen, such as when you create a table, click the small “Refresh” icon in the image below.
Import CSV
The features of MySQLWorkbench’s CSV import are as follows:
When importing into an existing table, column names and number of columns must match exactly.
If you don’t have a table yet, you can choose to create a new one in the import wizard
Now let’s actually import it. There is already a table called test in the DB, and we want to add 3 records to it in the text.csv file.
To import a CSV file into a table
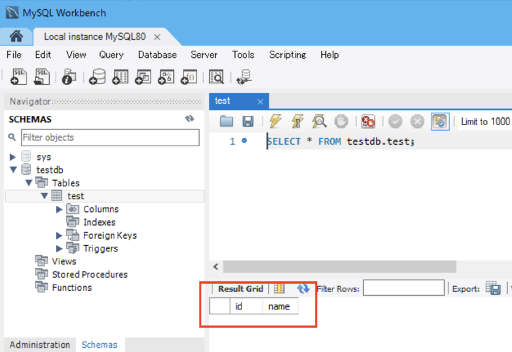
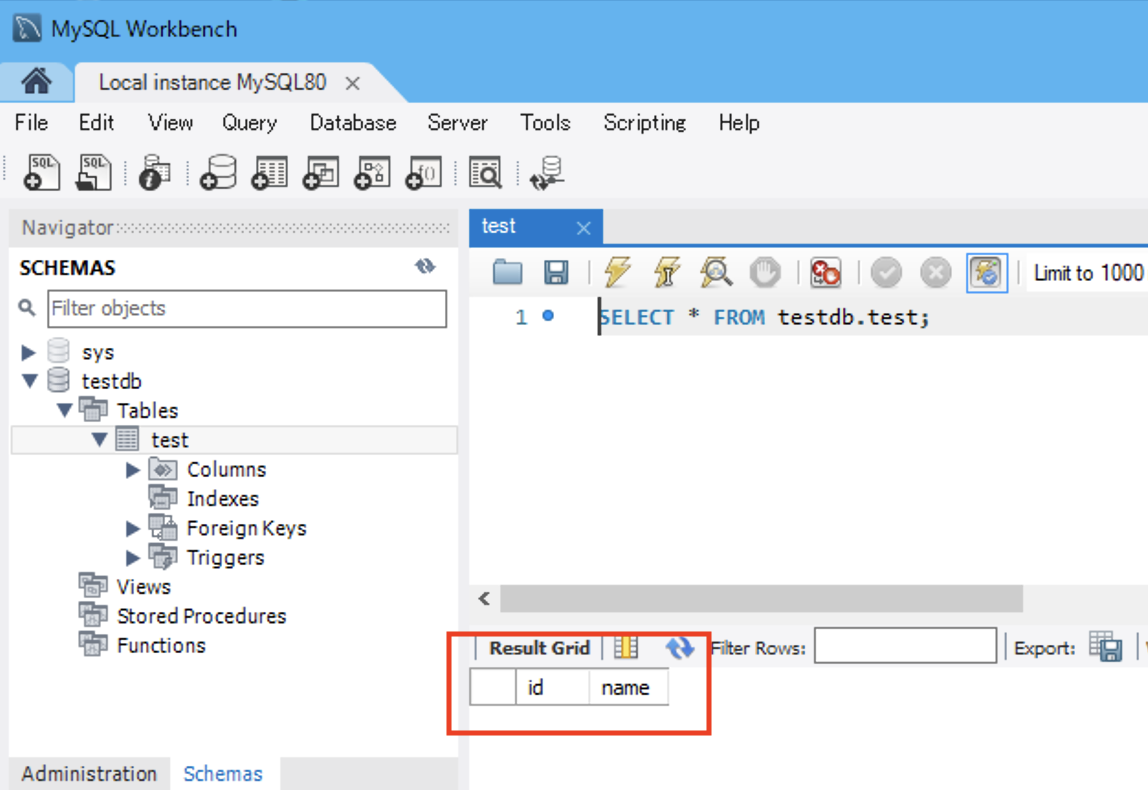
There are no records in the test table
Figure: Empty
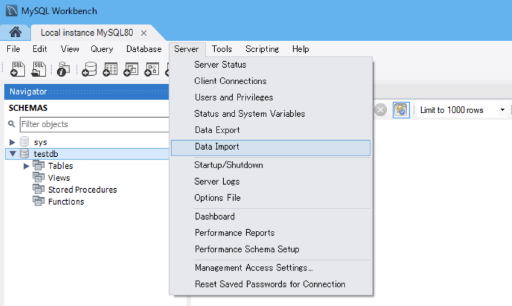
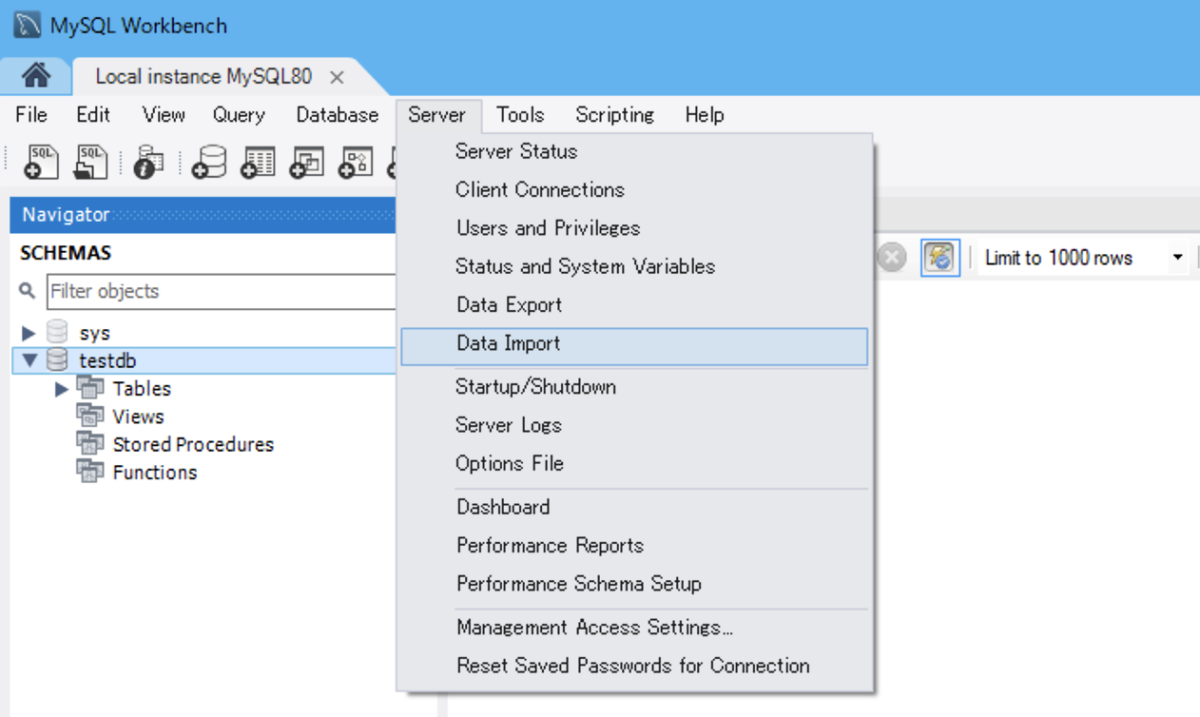
Right-click the table name you want to import (here test) and select “Table Data Import Wizard”
Figure: Import Menu
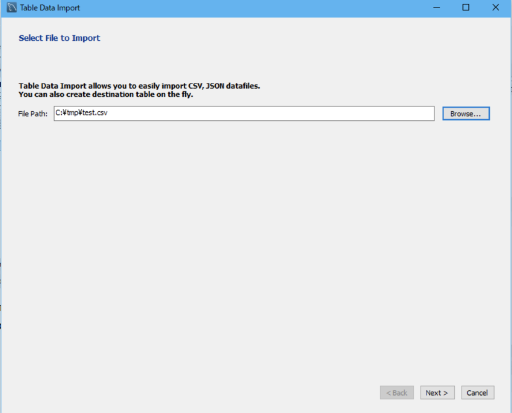
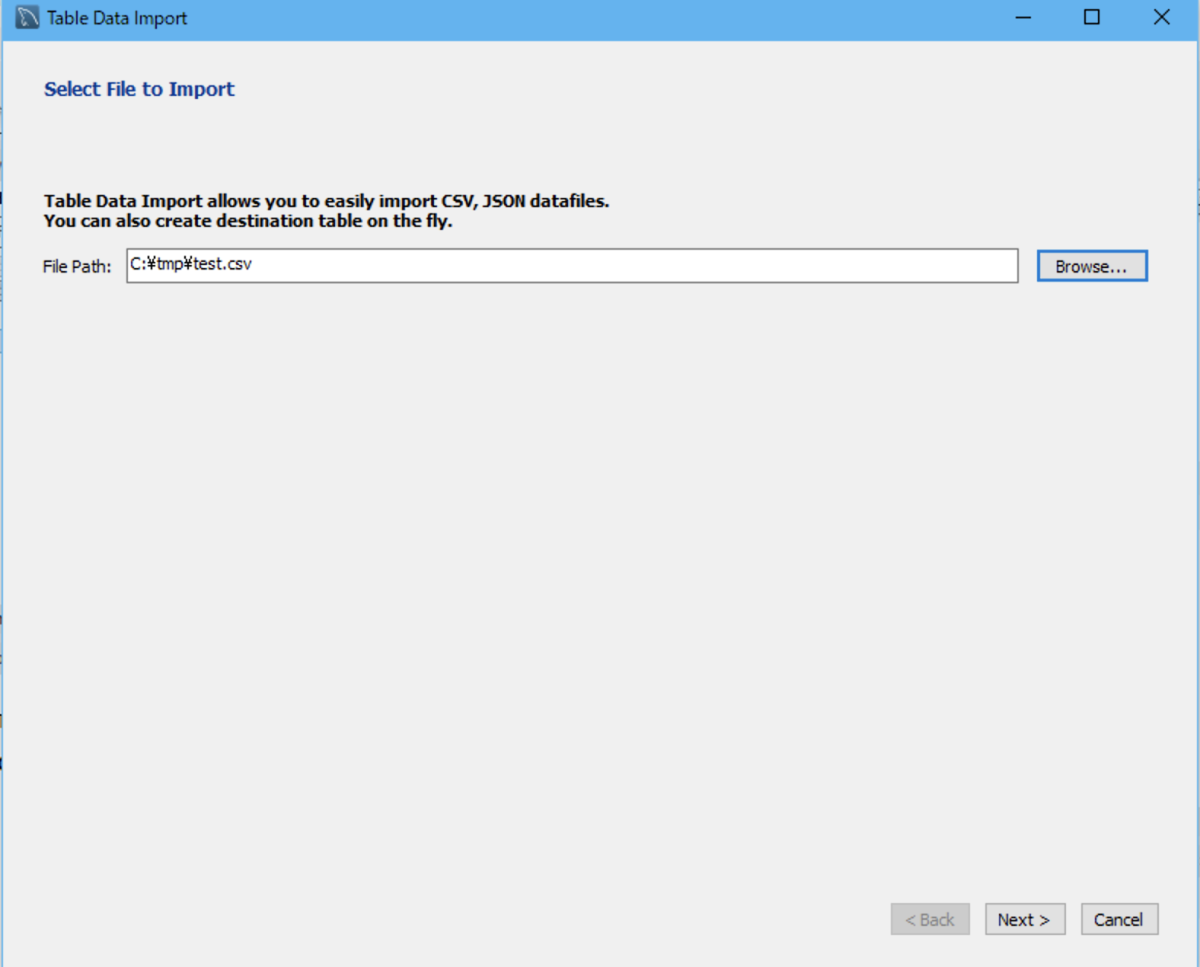
A dialog will appear, select the file to import and select “Next”
Figure: Import File
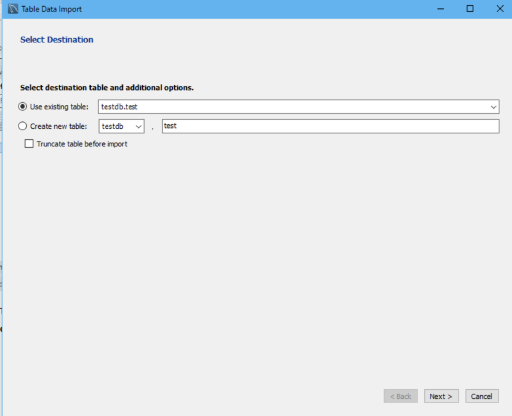
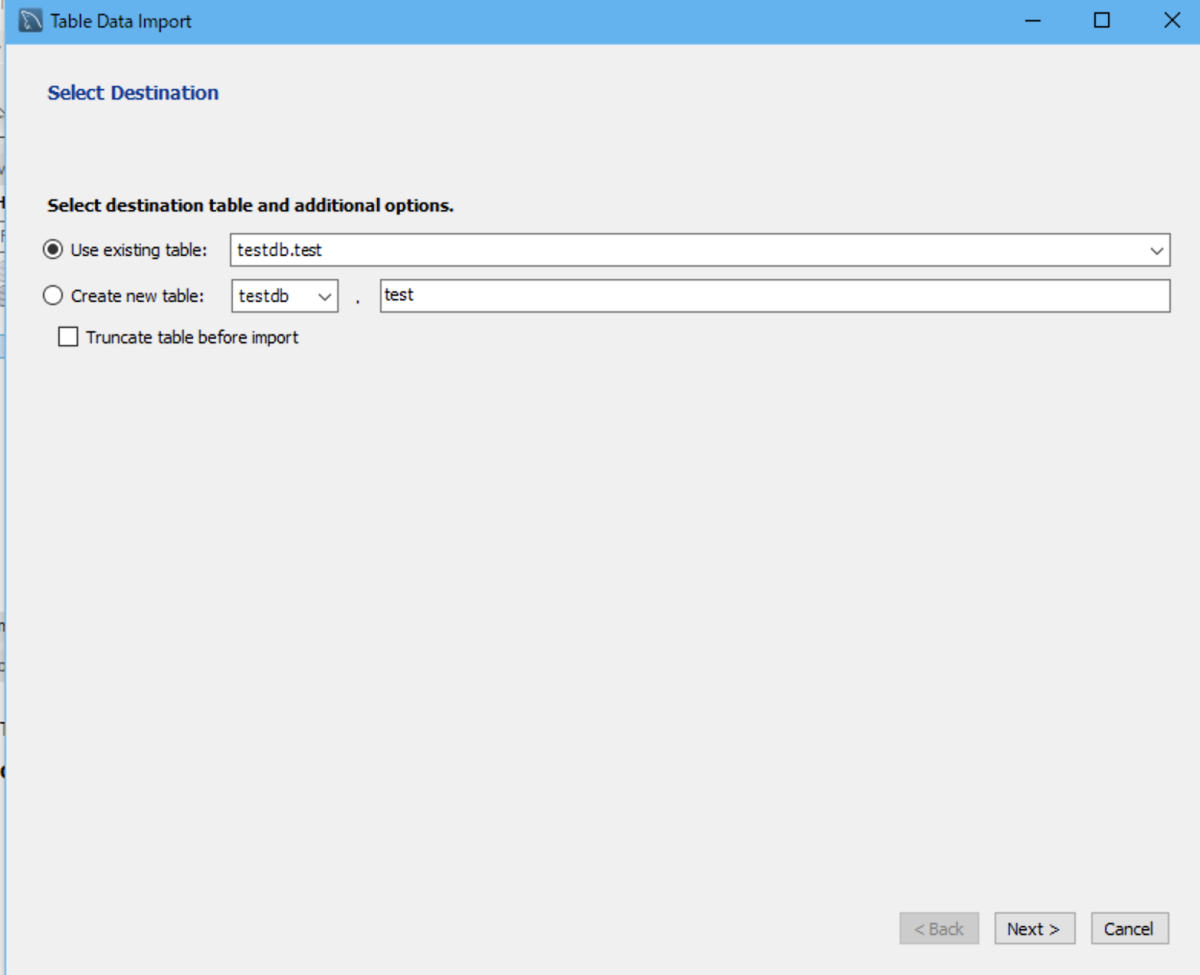
Choose whether to add data to an existing table or create a new table and import data into it.
Figure: Import File5. Set whether to include column names during import, etc. 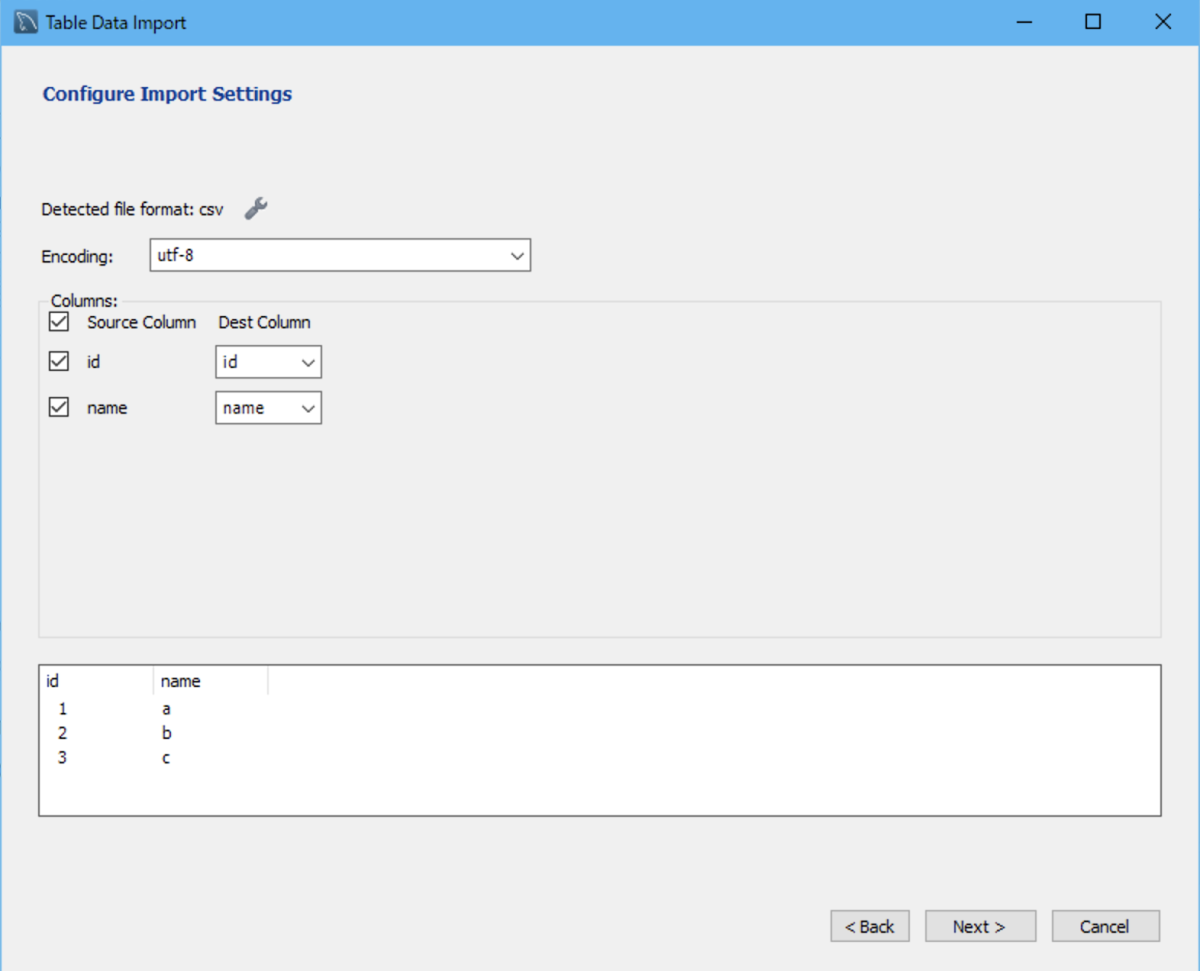
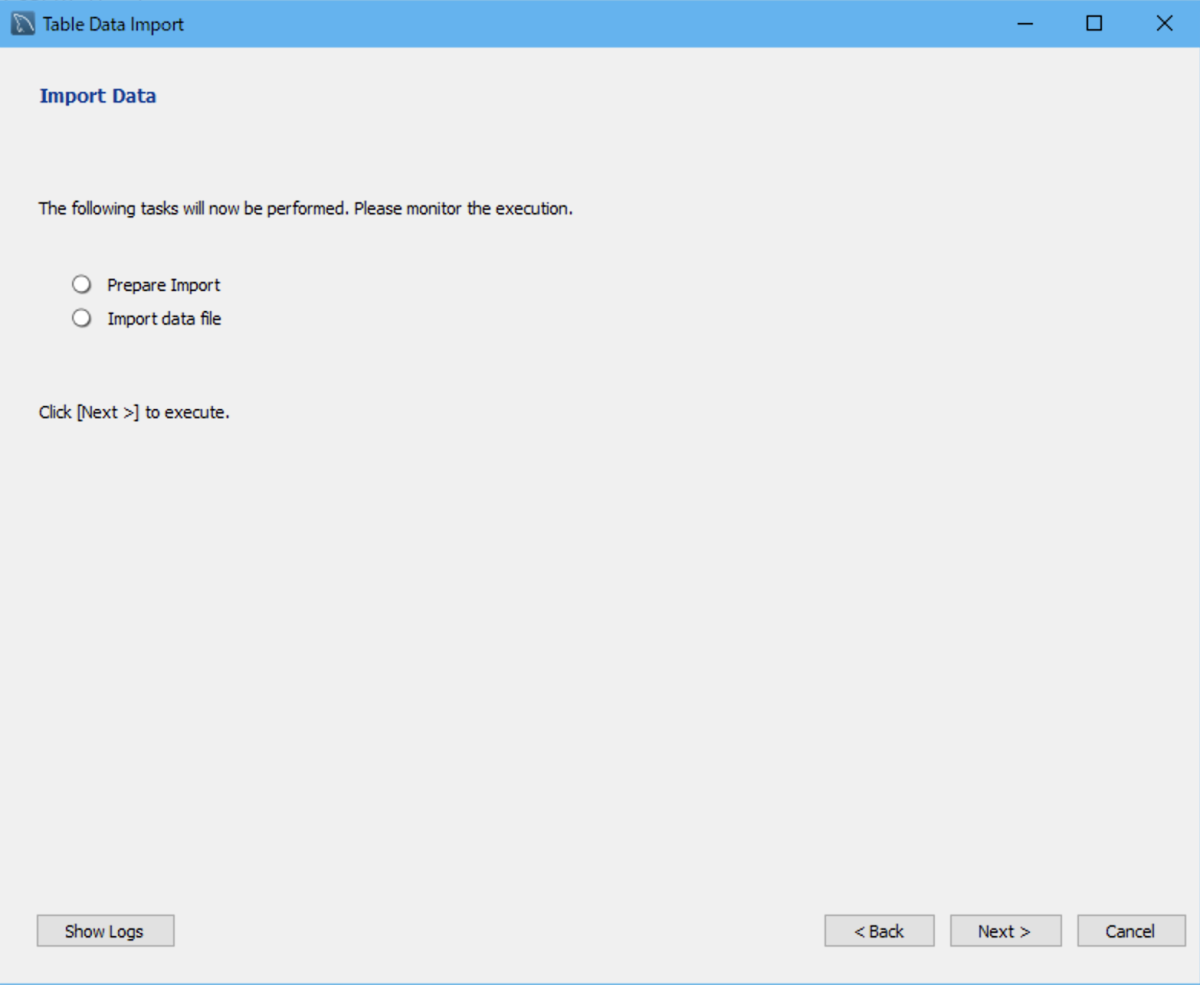
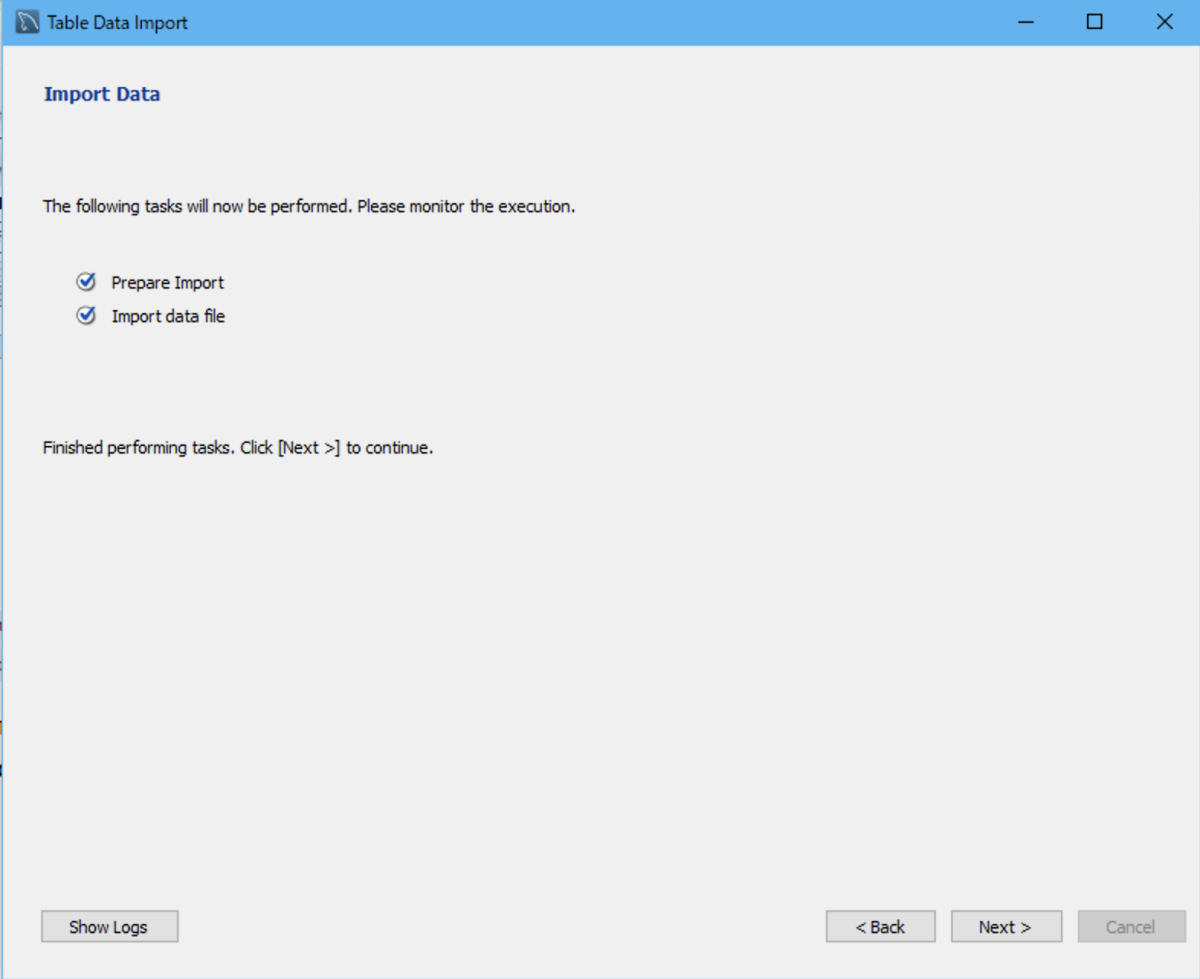
A confirmation screen will be displayed, so proceed to the next step
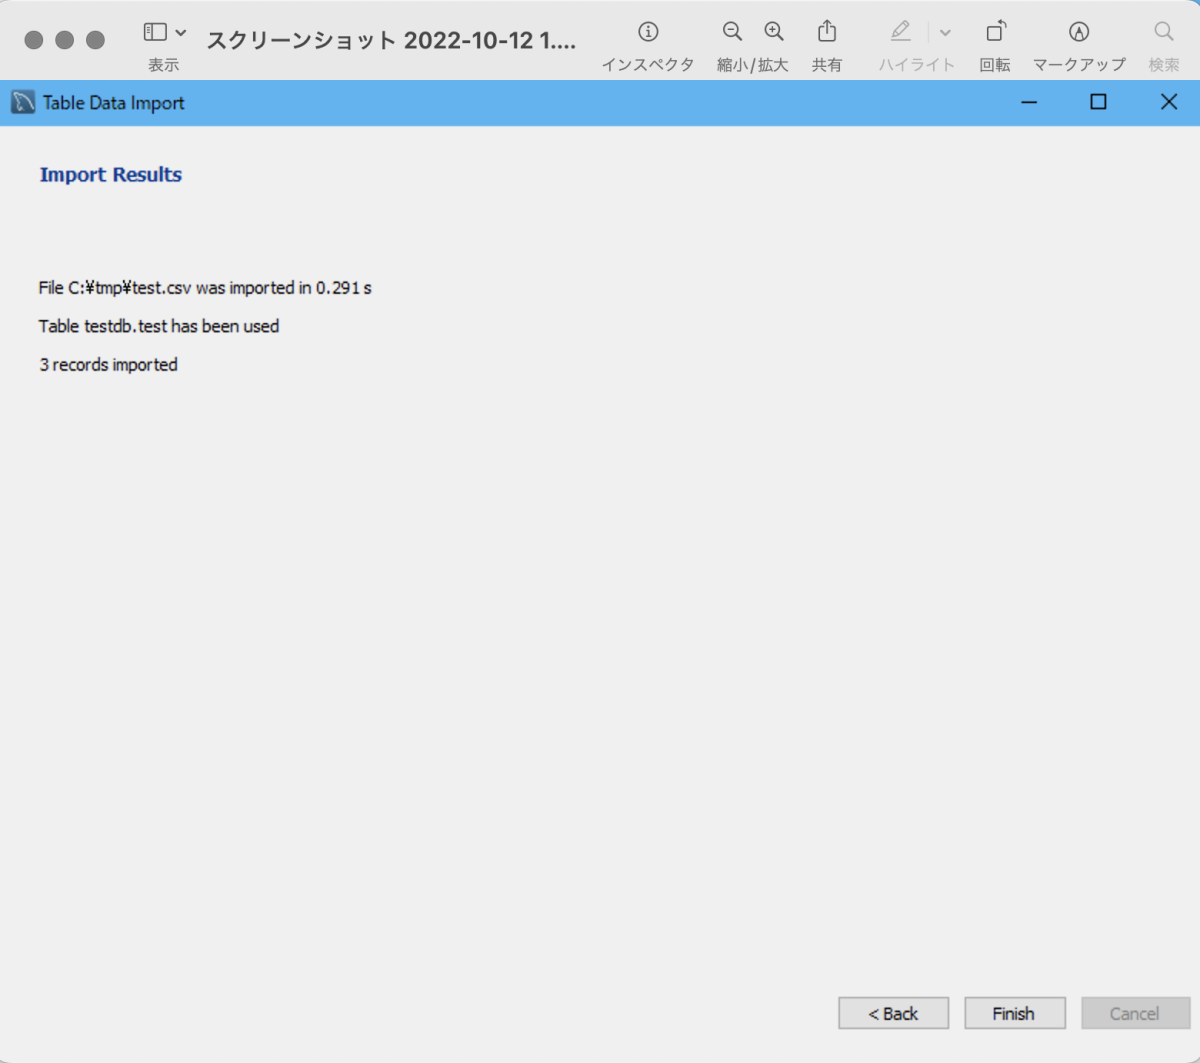
After executing the import, the results screen will be displayed. Press “Finish” to close the screen
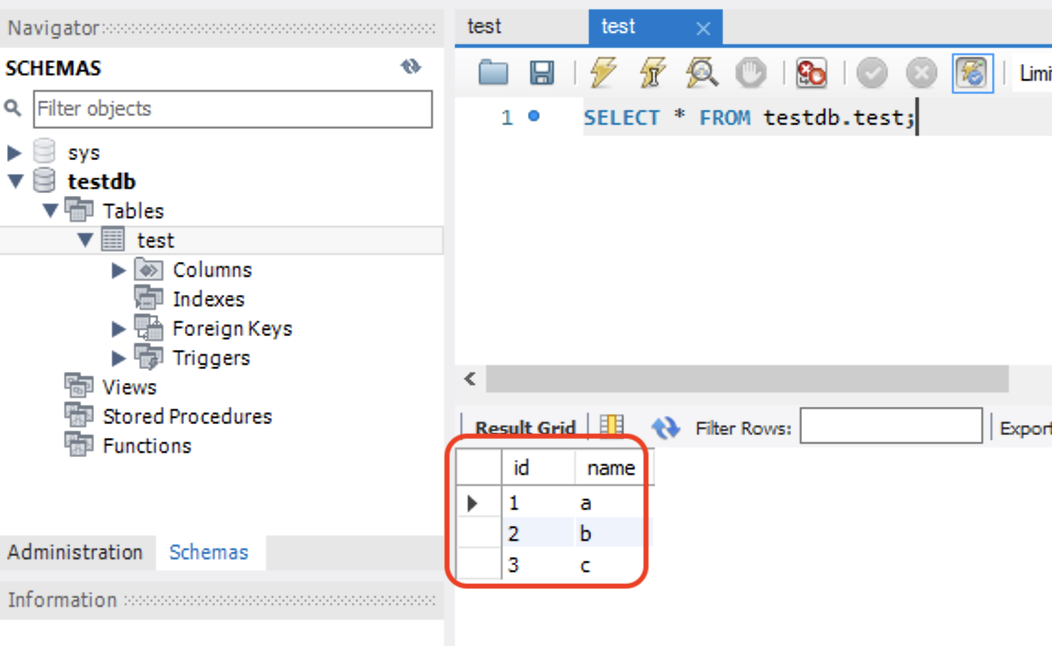
Check the table to see the imported data
CSV export
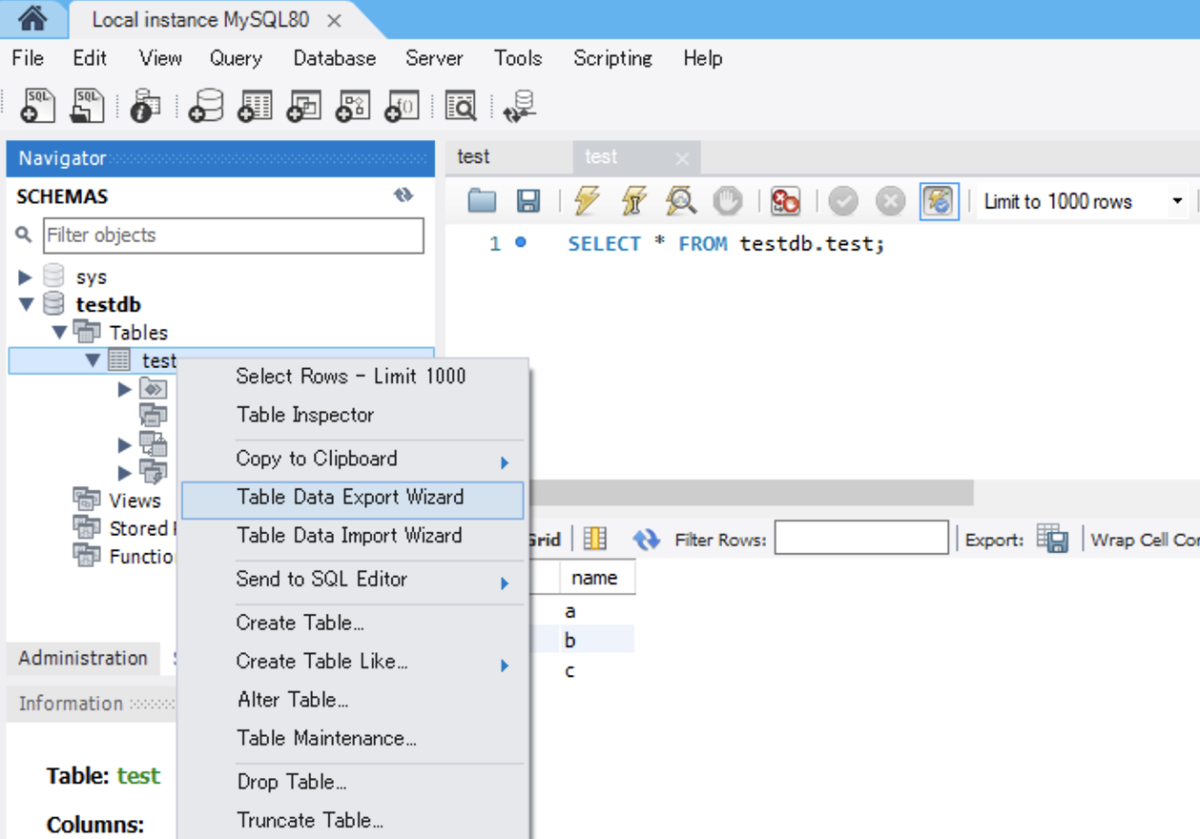
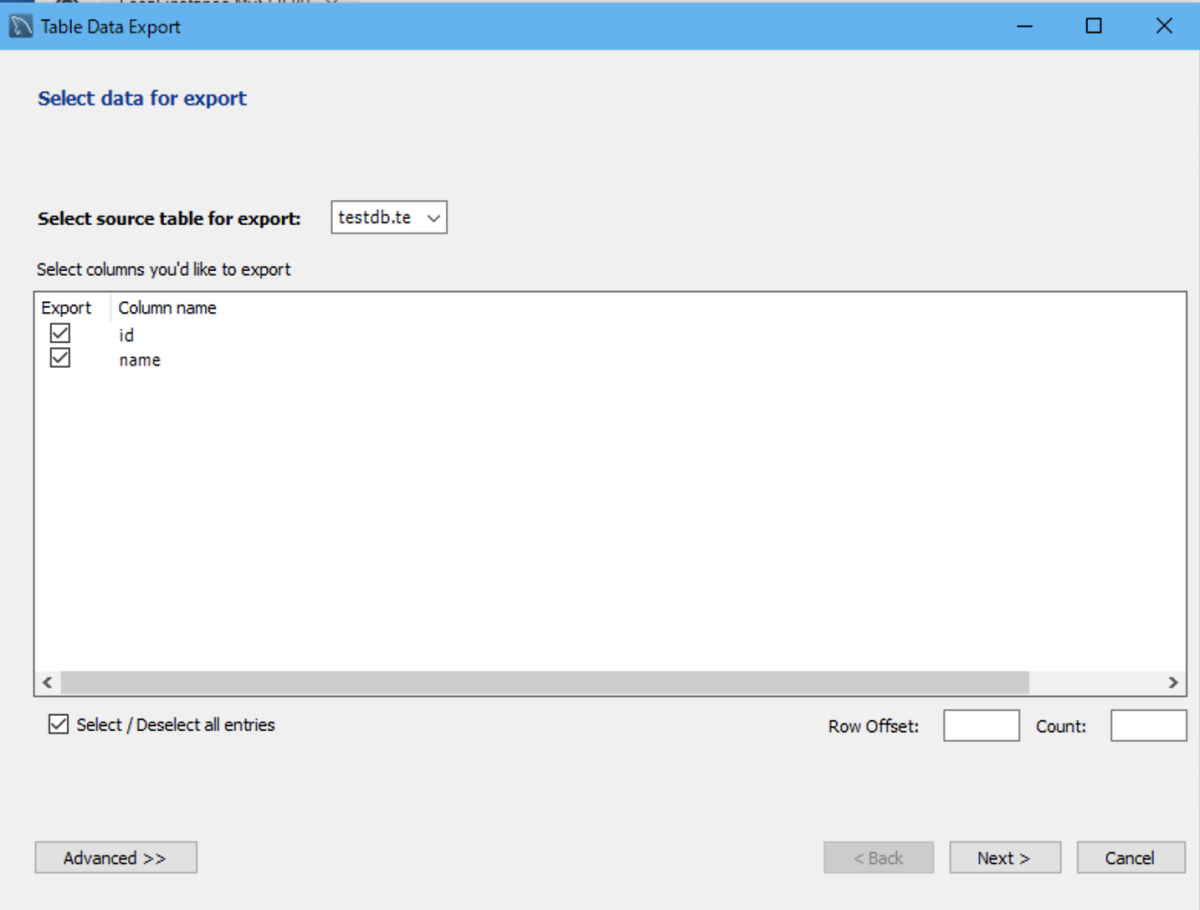
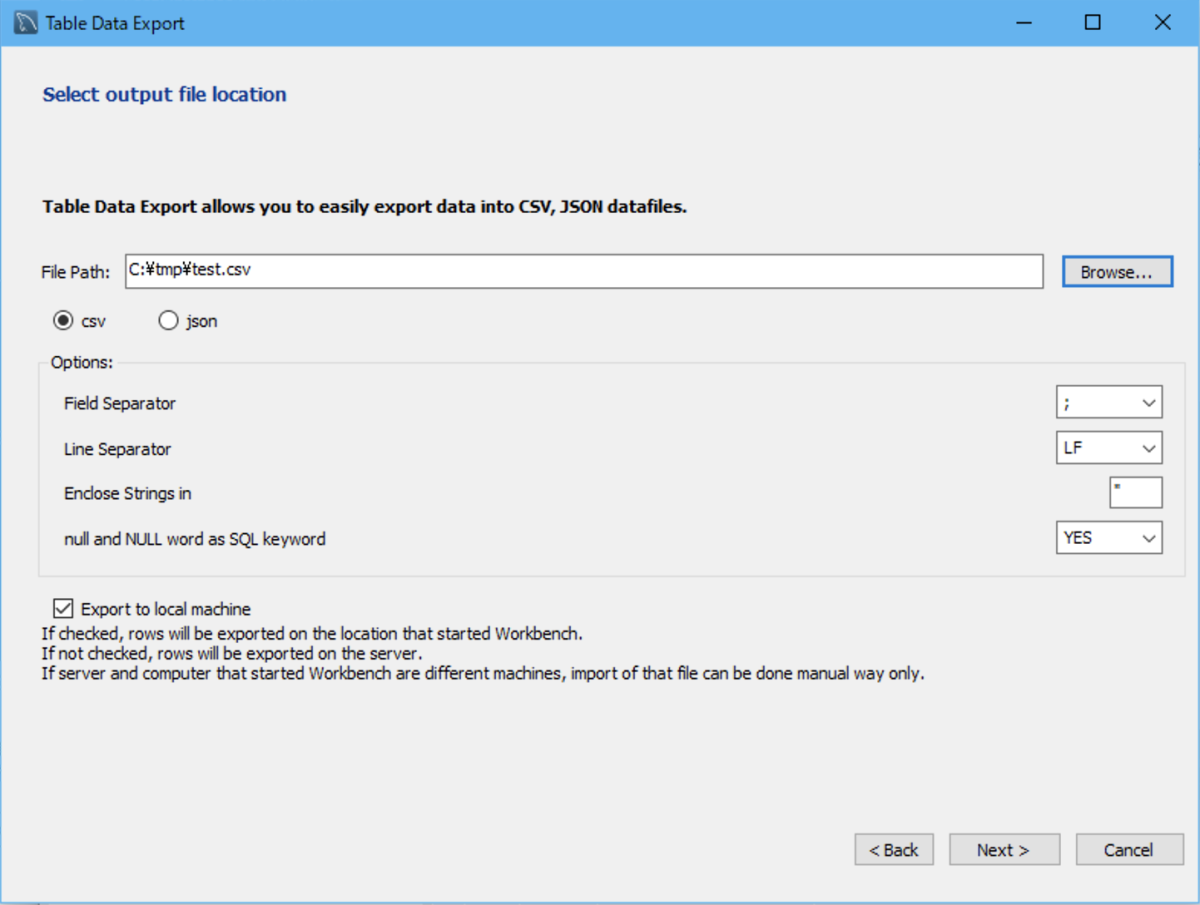
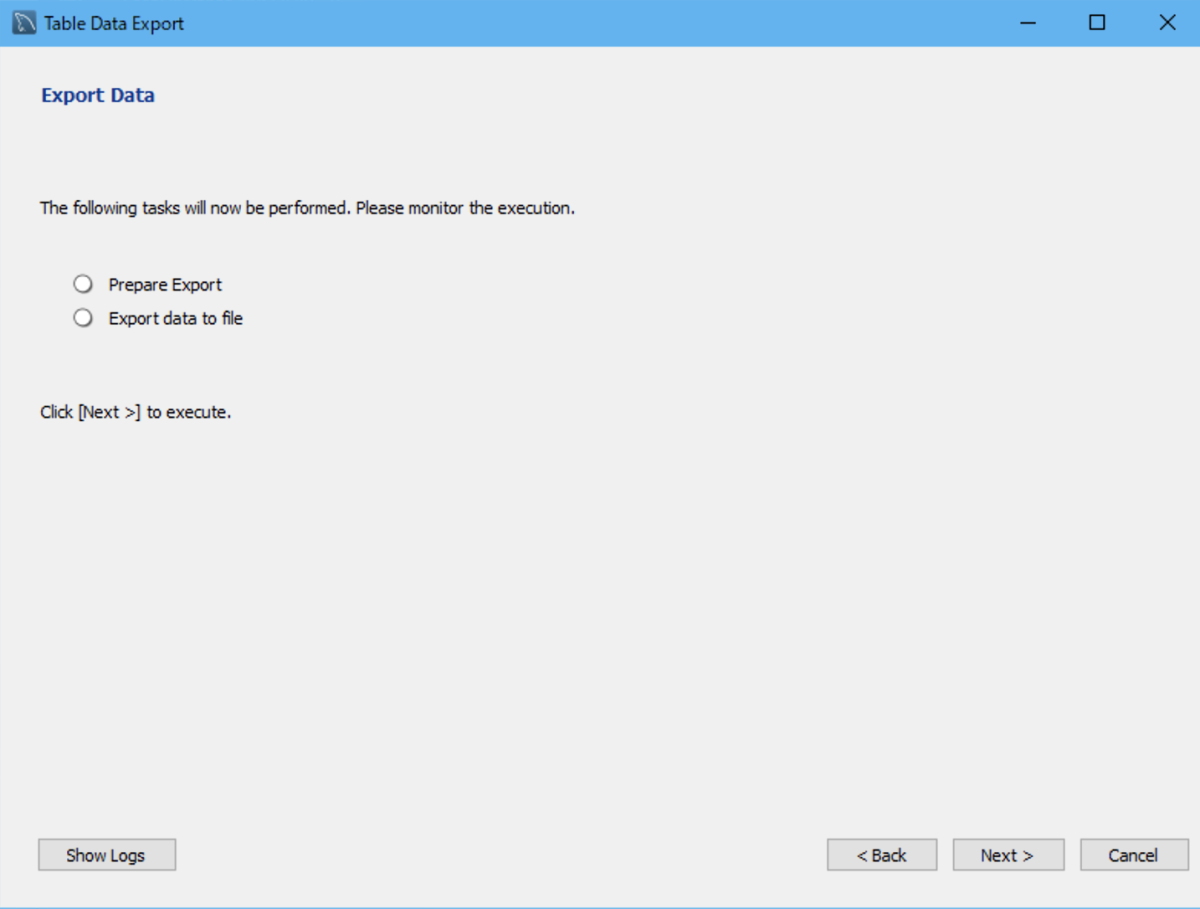
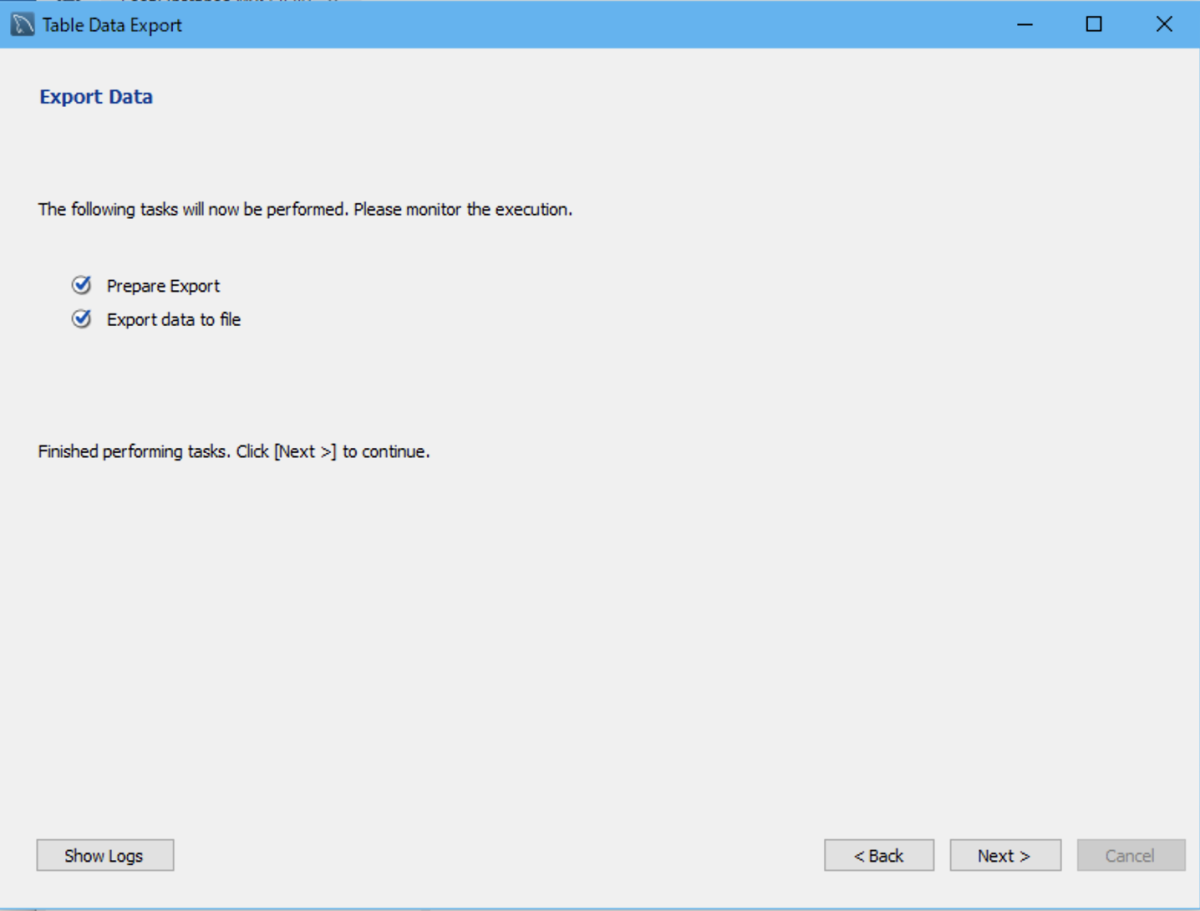
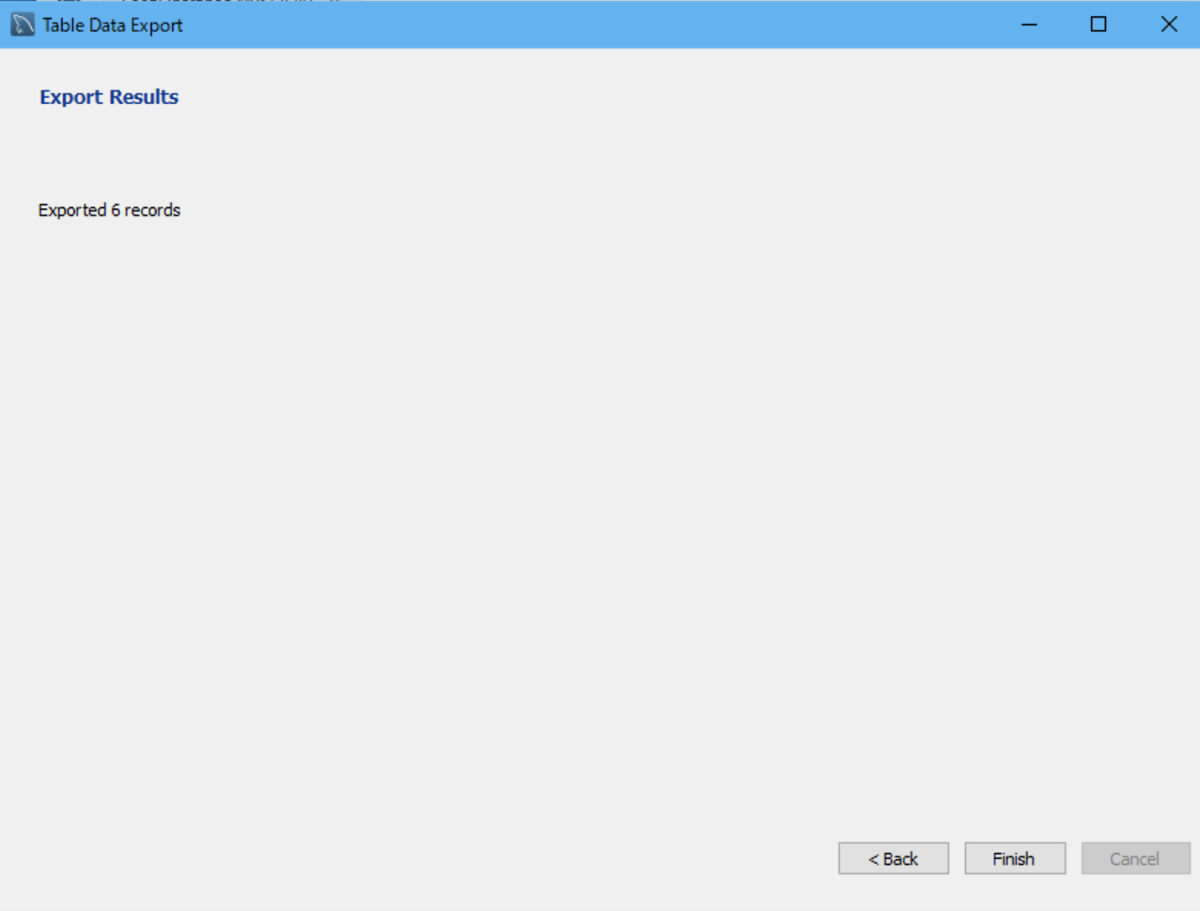
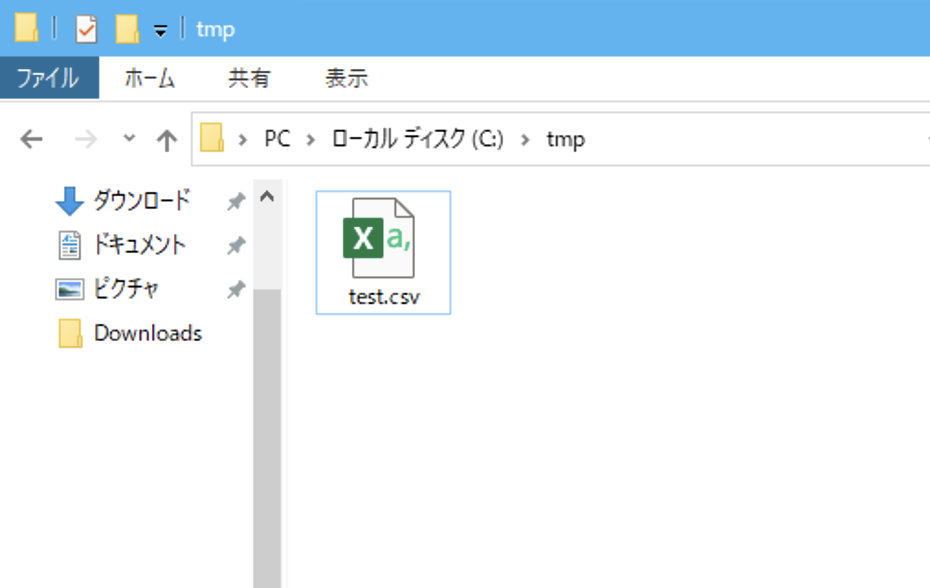
To export table data to a CSV file, run the “Table Data Export Wizard”.
To export table data to a CSV file
Right-click the table and select “Table Data Export Wizard”
 TulipSoft